
Guitar Projects
My senior year of high school I had an opportunity to build a guitar from scratch of my own design. I used an existing design as a starting point but modified it heavily. The design started in CAD, which was then used to make templates with the use of a CNC router, and then working the wood by hand with the templates. Many of the parts were not made by hand as they were existing components but they were incorporated into the design.
In addition to this senior project I have modified and repaired dozens of guitars. From simple wiring modifications to headstock repairs, and designing my own electric triangle using the principles of electric guitar.
-
Design
-
CAD modification of original design
-
Creating templates for every component
-
-
Templates
-
CNC and Gcode
-
Measurement checking
-
-
Woodworking
-
Jig design/use
-
Machine/hand tool use
-
Staining and finishing
-

The original CAD design for my custom build. Not 100% accurate for the final product, but a good representation. Only crucial parts were finalized in this stage.
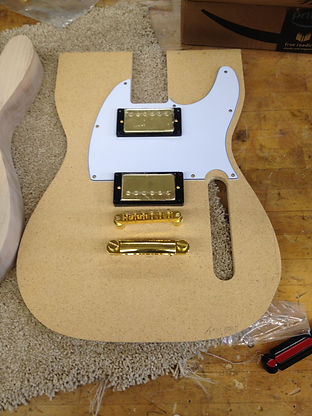
Templates were made on a CNC router to help shape the body and neck.
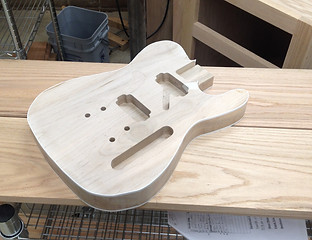
The body before finishing.
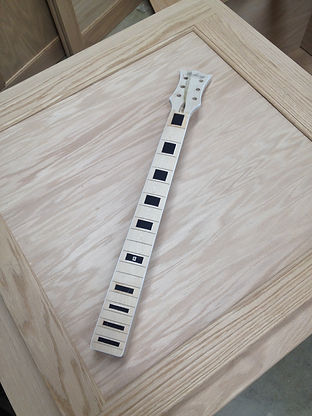
The neck before finishing.


The whole guitar after staining, and then after finishing. While the body shape was not original, the layout and neck profile/shape are of my CAD design. All other components were purchased, but the electronics needed to be hand wired.
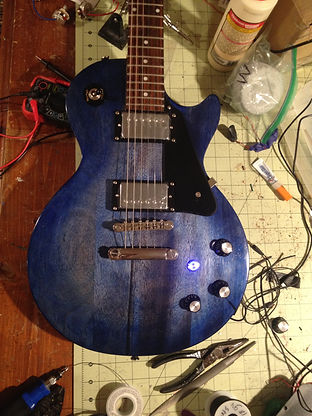
One of my first major refinishing projects, I also swapped out and made a custom wiring schematic for the new electronics. Sanded down the original opaque finish and hand stained the burst.

Mid finishing process, a clearer shot of the color.

Another project from a friend, trying new taping methods and techniques.

I was commissioned to build an electric triangle from scratch, so I used my guitar building and modifying experience to do so. I used a basic guitar components for the electronics while building the base from scratch.

Version 2 built with improvements from the first design. Simplified and made more visually appealing. Used a 3d printed base for easier manufacturing.